
Red Velvet Cheesecake Cookie Cups Recipe
Introduction
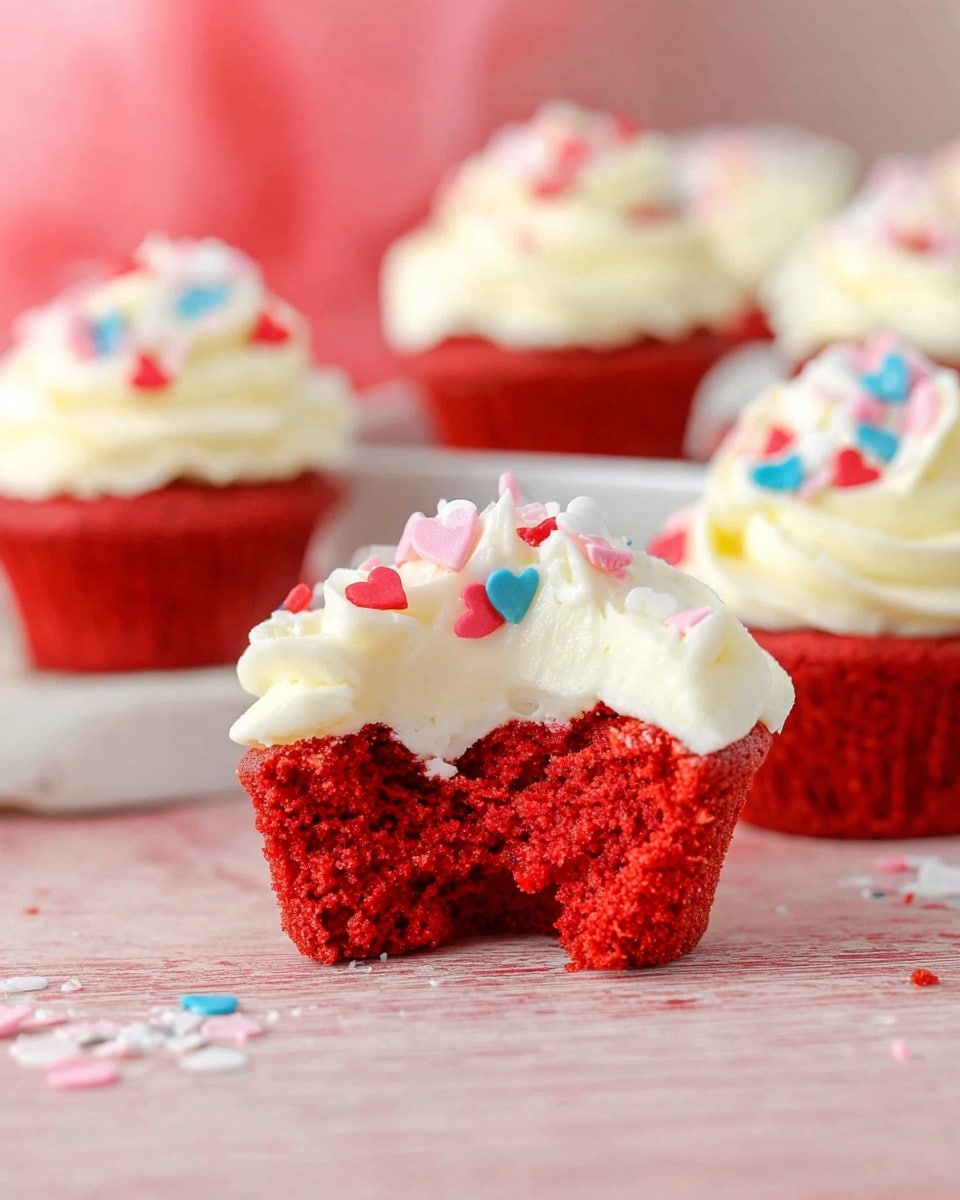
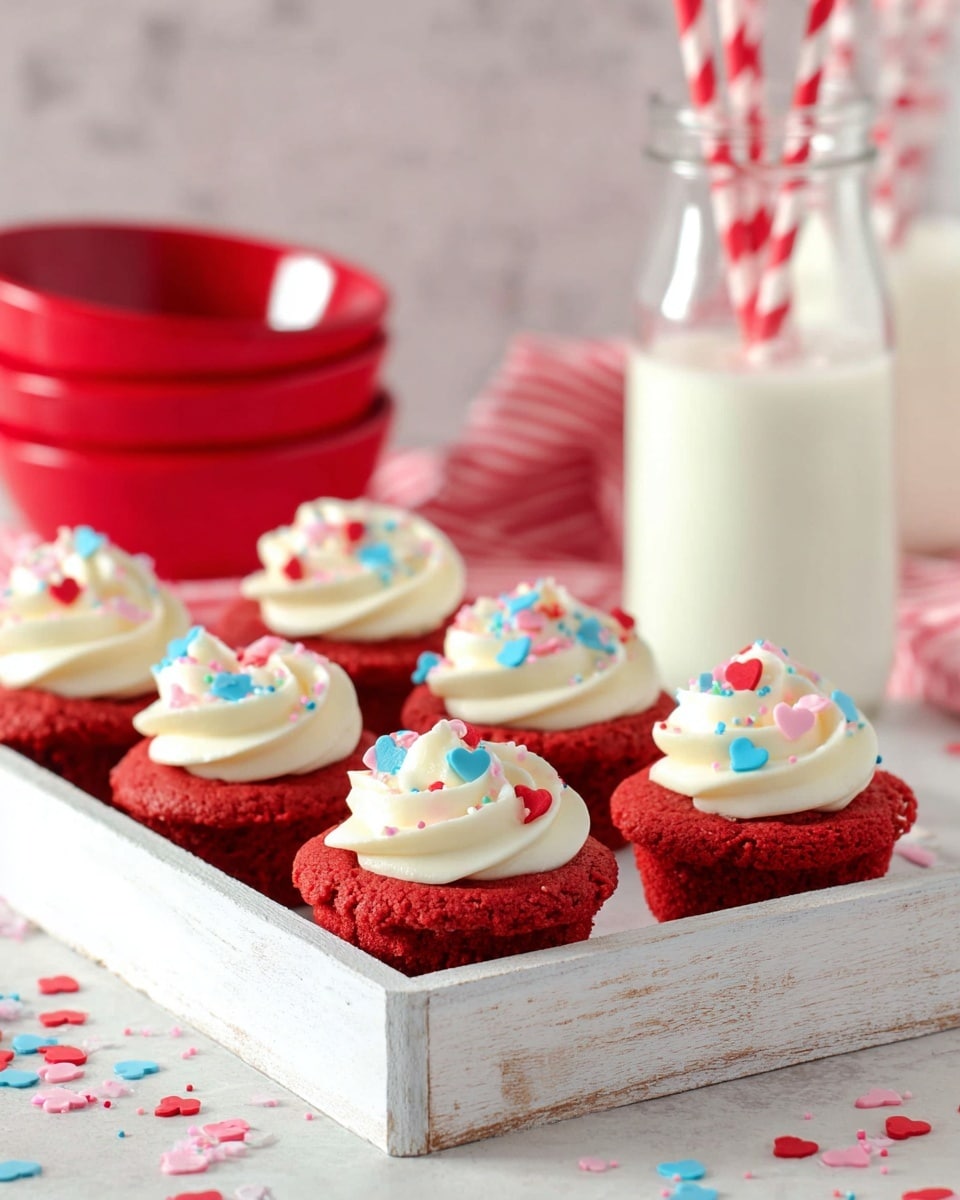
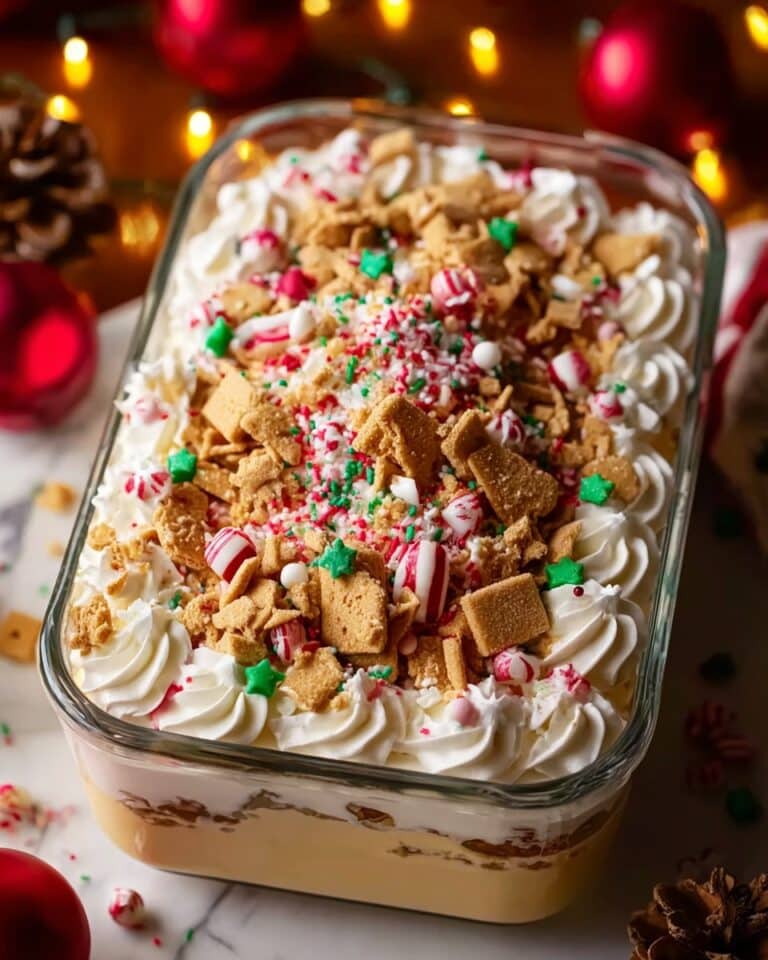
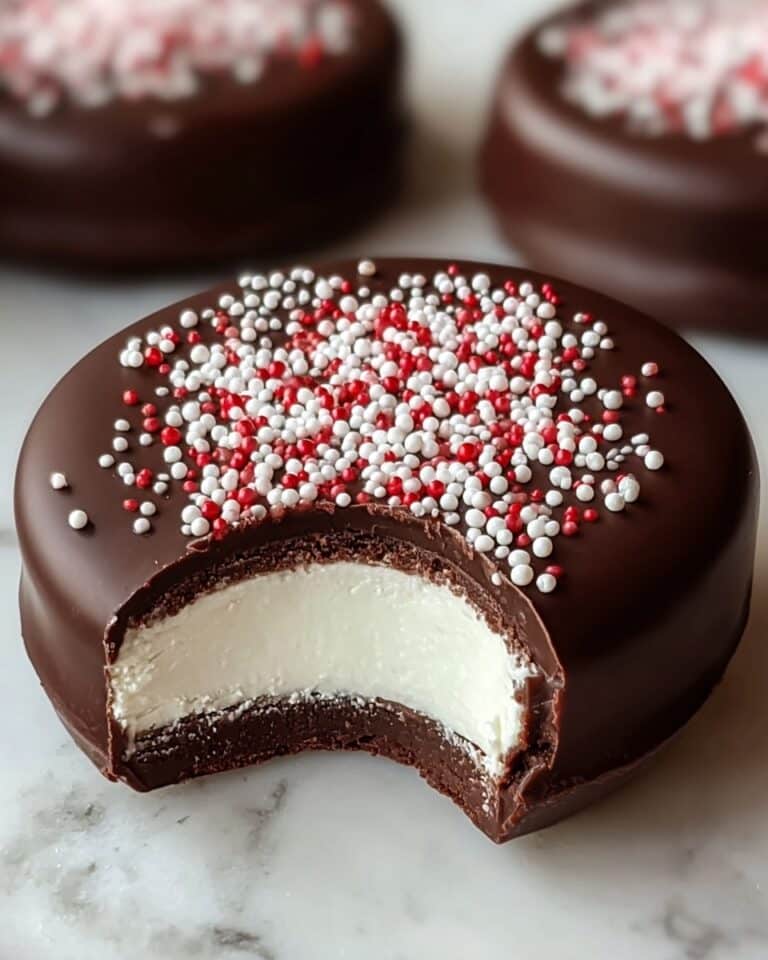
These Red Velvet Cheesecake Cookie Cups combine the rich flavors of red velvet cookies with a creamy cheesecake filling. Perfect for parties or a special treat, they are both visually stunning and deliciously satisfying.
Ingredients
- 3/4 cup (168g) unsalted butter, room temperature
- 1 cup (207g) sugar
- 1 egg
- 1 tsp vanilla extract
- 2 tsp vinegar
- 1 1/2 tbsp red food color (less than 1 ounce)
- 2 1/4 cups + 2 tbsp (309g) all-purpose flour
- 2 tsp cornstarch
- 1 tsp baking soda
- 1 tbsp natural unsweetened cocoa powder
- 1/4 tsp salt
- 12 oz (339g) cream cheese, room temperature
- 2 1/4 cups (259g) powdered sugar
- 1 1/2 tsp vanilla extract
- Sprinkles
Instructions
- Step 1: Spray a cupcake pan well with non-stick cooking spray and preheat the oven to 350°F (176°C).
- Step 2: Cream the butter and sugar together for 3-4 minutes until light and fluffy.
- Step 3: Add the egg, vanilla extract, vinegar, and red food color. Mix until well combined.
- Step 4: In a medium bowl, combine flour, cornstarch, baking soda, cocoa powder, and salt. Add this to the wet ingredients and mix until just combined.
- Step 5: Form balls of about 2 tablespoons of dough. Press the dough into the bottom and about one-third to one-half up the sides of each cupcake cup, shaping a cup.
- Step 6: Bake for 10-12 minutes, until the edges are set and the centers look slightly undercooked.
- Step 7: Remove from oven and cool for 5 minutes, then transfer to a cooling rack to finish cooling. If the centers aren’t cupped enough, gently press down the center with the underside of a measuring tablespoon.
- Step 8: Beat the cream cheese until smooth.
- Step 9: Add powdered sugar and 1 1/2 teaspoons of vanilla extract to the cream cheese and mix until smooth.
- Step 10: Pipe the cheesecake filling into the cooled cookie cups and decorate with sprinkles. Refrigerate until ready to serve.
Tips & Variations
- Use gel food coloring for a more vibrant red without altering the dough’s consistency.
- For extra stability, chill the cookie cups in the fridge before adding the filling.
- Try mini chocolate chips in the dough for added texture.
- Substitute cream cheese filling with whipped cream for a lighter option.
Storage
Store the assembled cookie cups in an airtight container in the refrigerator for up to 3 days. Allow them to sit at room temperature for about 10 minutes before serving for the best texture. The cookie cups can be stored without filling at room temperature for up to 2 days.
How to Serve
Serve this delicious recipe with your favorite sides.
FAQs
Can I make the cookie cups ahead of time?
Yes, you can bake the cookie cups a day in advance and store them in an airtight container at room temperature. Fill them with cheesecake and decorate just before serving to keep them fresh.
What can I use instead of vinegar in this recipe?
You can substitute white vinegar with lemon juice in equal amounts. The acid helps activate the baking soda and enhances the red velvet flavor.
Print
Red Velvet Cheesecake Cookie Cups Recipe
- Total Time: 40 minutes
- Yield: 12 cookie cups 1x
- Diet: Vegetarian
Description
Delight in these festive Red Velvet Cheesecake Cookie Cups featuring a soft red velvet cookie base filled with creamy vanilla cheesecake filling. Perfectly baked to have a slightly undercooked center that holds a luscious cheesecake surprise, topped with colorful sprinkles for a fun and elegant treat.
Ingredients
Cookie Dough
- 3/4 cup (168g) unsalted butter, room temperature
- 1 cup (207g) sugar
- 1 egg
- 1 tsp vanilla extract
- 2 tsp vinegar
- 1 1/2 tbsp red food color (less than 1 ounce)
- 2 1/4 cups + 2 tbsp (309g) all-purpose flour
- 2 tsp cornstarch
- 1 tsp baking soda
- 1 tbsp natural unsweetened cocoa powder
- 1/4 tsp salt
Cheesecake Filling
- 12 oz (339g) cream cheese, room temperature
- 2 1/4 cups (259g) powdered sugar
- 1 1/2 tsp vanilla extract
- Sprinkles for topping
Instructions
- Prepare the Pan: Spray a cupcake pan well with non-stick cooking spray. Preheat the oven to 350°F (176°C) to ensure it reaches the correct baking temperature.
- Cream Butter and Sugar: In a mixing bowl, cream together the unsalted butter and sugar for 3-4 minutes until the mixture is light and fluffy. This step creates a tender texture for the cookies.
- Add Wet Ingredients: Mix in the egg, vanilla extract, vinegar, and red food color until all ingredients are well combined, creating the characteristic red velvet dough.
- Combine Dry Ingredients: In a separate medium bowl, whisk together all-purpose flour, cornstarch, baking soda, cocoa powder, and salt. Gradually add this to the wet ingredients and mix until the dough forms evenly.
- Shape Cookie Cups: Scoop approximately 2 tablespoons of dough per cookie. Press each dough ball into the bottom and about one-third to one-half way up the sides of each cupcake cup, shaping a cup to hold the filling.
- Bake: Bake the cookie cups in the preheated oven for 10-12 minutes or until the edges are set, and the centers remain slightly undercooked to maintain softness for holding the cheesecake filling.
- Cool the Cookie Cups: Remove from oven and cool in the pan for 5 minutes, then transfer to a cooling rack to cool completely. If needed, gently press down the centers using the underside of a tablespoon to create more space for filling.
- Prepare Cheesecake Filling: In a clean bowl, beat the cream cheese until smooth and creamy, ensuring no lumps remain for a silky filling.
- Add Sweetness and Flavor: Add the powdered sugar and vanilla extract to the cream cheese, mixing until fully combined and smooth. Optionally, add a drop of icing color to match the red velvet theme.
- Fill and Decorate: Pipe the cheesecake filling into the cooled cookie cups evenly and top each with sprinkles for a festive touch. Refrigerate until ready to serve to set the filling nicely.
Notes
- Ensure the cream cheese is at room temperature to avoid lumps in the filling.
- If the centers of the cookie cups don’t cup enough after baking, gently press them while still warm for better filling space.
- Adjust the amount of red food coloring to achieve your desired shade of red velvet.
- Store the cookie cups in the refrigerator and consume within 3-4 days for optimal freshness.
- Use natural food coloring to avoid artificial additives if preferred.
- Prep Time: 20 minutes
- Cook Time: 12 minutes
- Category: Dessert
- Method: Baking
- Cuisine: American
Keywords: Red Velvet, Cheesecake, Cookie Cups, Dessert, Holiday Treat, Easy Baking, Cream Cheese Filling

