
Homemade Ricotta Recipe
Introduction
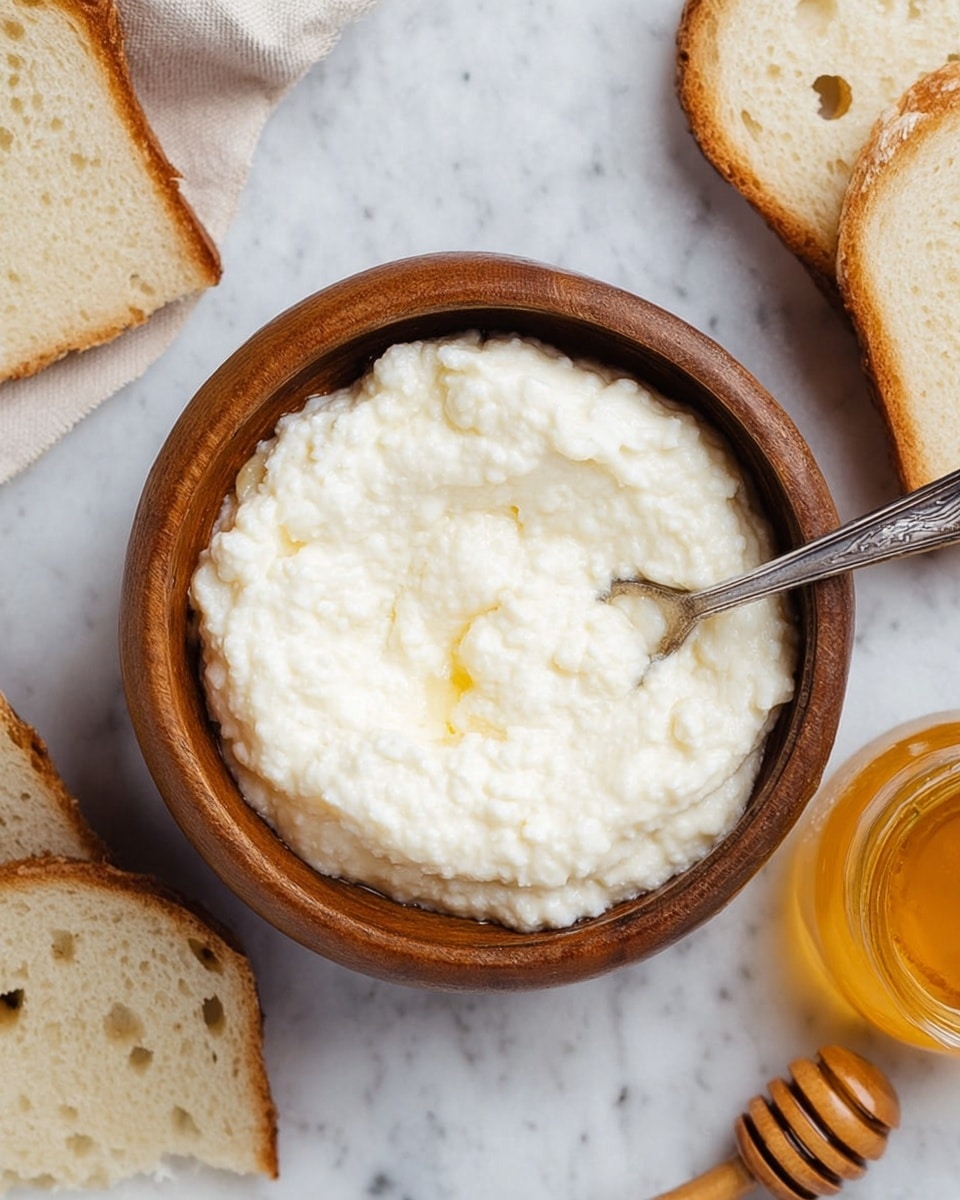
Making ricotta cheese at home is surprisingly simple and yields a fresh, creamy result that’s perfect for cooking or spreading. This homemade ricotta uses just a few ingredients and minimal equipment, giving you a delicious dairy treat in under an hour.

Ingredients
- 3 cups whole milk
- 1 cup heavy cream
- Pinch of kosher salt
- 2 tablespoons fresh-squeezed lemon juice
Instructions
- Step 1: In a saucepan, combine the whole milk, heavy cream, and a pinch of kosher salt. Heat the mixture over medium heat, stirring frequently, until it reaches a bare simmer at about 200°F as measured with an instant-read thermometer.
- Step 2: Turn off the burner without moving the pot. Slowly stir in the lemon juice using a gentle figure-8 motion. Let the mixture rest undisturbed for 10 to 15 minutes as curds form.
- Step 3: Line a fine-mesh strainer with cheesecloth and place it over a bowl. Using a slotted spoon, gently transfer the curds into the cheesecloth.
- Step 4: Allow the ricotta to strain for about 15 minutes. Once strained, transfer the ricotta to a container and store in the refrigerator until ready to use.
Tips & Variations
- For a tangier ricotta, add an extra tablespoon of lemon juice gradually, but avoid over-curdling.
- Use the leftover whey in smoothies, soups, or bread dough for added nutrition.
- To make the ricotta firmer, let it strain longer or gently press the cheesecloth with a spoon.
- Swap lemon juice with white vinegar for a slightly different flavor profile.
Storage
Store homemade ricotta in an airtight container in the refrigerator for up to 4 days. Reheat gently or enjoy cold. It’s best used fresh for optimal creaminess and flavor.
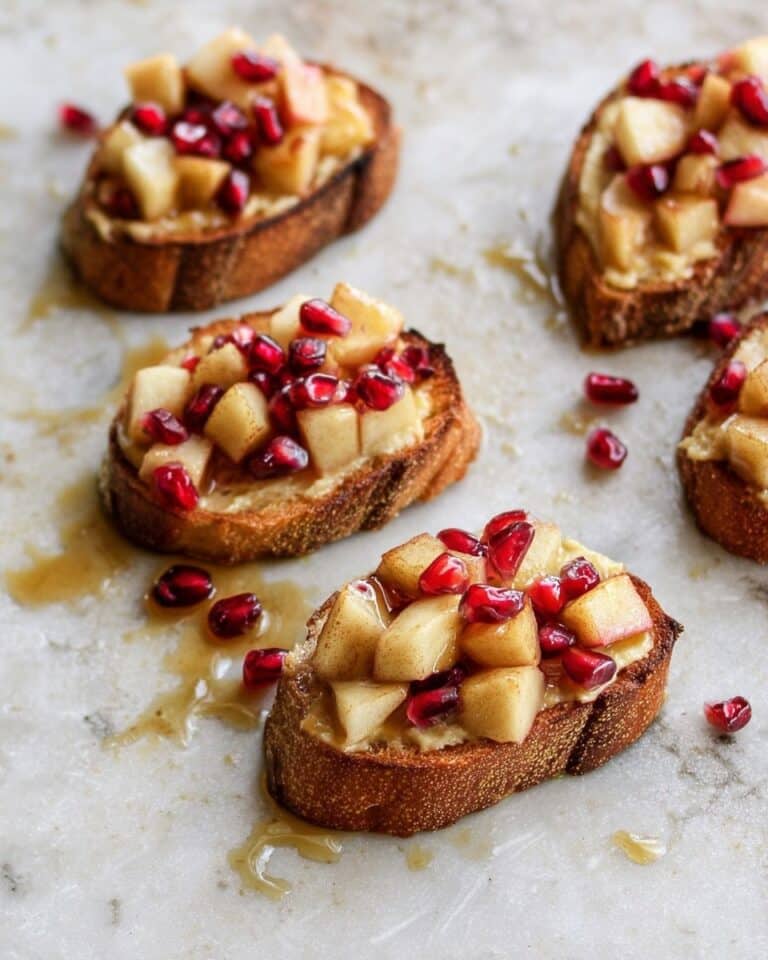
How to Serve
Serve this delicious recipe with your favorite sides.
FAQs
Can I use low-fat or skim milk instead of whole milk?
While it’s possible, using whole milk and heavy cream ensures a rich, creamy texture. Low-fat or skim milk may result in a thinner, less creamy ricotta.
Why did my ricotta not curdle properly?
Make sure the milk mixture reaches a near simmer (around 200°F) before adding the acid, and stir gently to avoid breaking the curds. Fresh milk and proper acid quantity also affect curdling success.
Print
Homemade Ricotta Recipe
- Total Time: 35 minutes
- Yield: About 1 1/2 cups ricotta 1x
- Diet: Vegetarian
Description
This homemade ricotta recipe delivers a fresh, creamy, and soft cheese that is surprisingly simple to make with just a few basic ingredients. By gently heating whole milk and cream with a touch of salt and fresh lemon juice, delicate curds form and are strained to create a versatile ricotta perfect for both sweet and savory dishes.
Ingredients
Ingredients
- 3 cups whole milk
- 1 cup heavy cream
- Pinch of kosher salt
- 2 tablespoons fresh-squeezed lemon juice
Instructions
- Heat the Dairy: In a saucepan, combine the whole milk, heavy cream, and a pinch of kosher salt. Place over medium heat and stir frequently to prevent scorching. Heat the mixture until it reaches a bare simmer at 200°F, using an instant-read thermometer for accuracy.
- Add Lemon Juice: Turn off the heat, but do not move the pot. Slowly pour in the fresh lemon juice while stirring gently in a figure-8 motion. This action helps the curds form. Allow the mixture to sit undisturbed for 10 to 15 minutes to let the curds fully develop.
- Strain the Curds: Line a fine-mesh strainer with cheesecloth and place it over a large bowl. Using a slotted spoon, carefully transfer the curds into the lined strainer. This separates the whey from the curds.
- Drain and Store: Let the ricotta drain in the cheesecloth for about 15 minutes until it reaches your desired consistency. Once drained, transfer the ricotta to an airtight container and store it in the refrigerator until ready to use.
Notes
- Use fresh, high-quality whole milk and cream for the best flavor and texture.
- The lemon juice can be substituted with white vinegar, but lemon juice provides a cleaner taste.
- Do not stir the milk mixture once the lemon juice is added, to allow proper curd formation.
- Adjust draining time depending on whether you prefer wetter or firmer ricotta.
- Ricotta is best used within 3-5 days of preparation for freshness.
- Prep Time: 5 minutes
- Cook Time: 15 minutes
- Category: Dairy
- Method: Stovetop
- Cuisine: Italian
Keywords: homemade ricotta, fresh ricotta, ricotta cheese recipe, simple ricotta, DIY cheese, Italian cheese making


