
Birthday Cake Ice Cream Recipe
Introduction
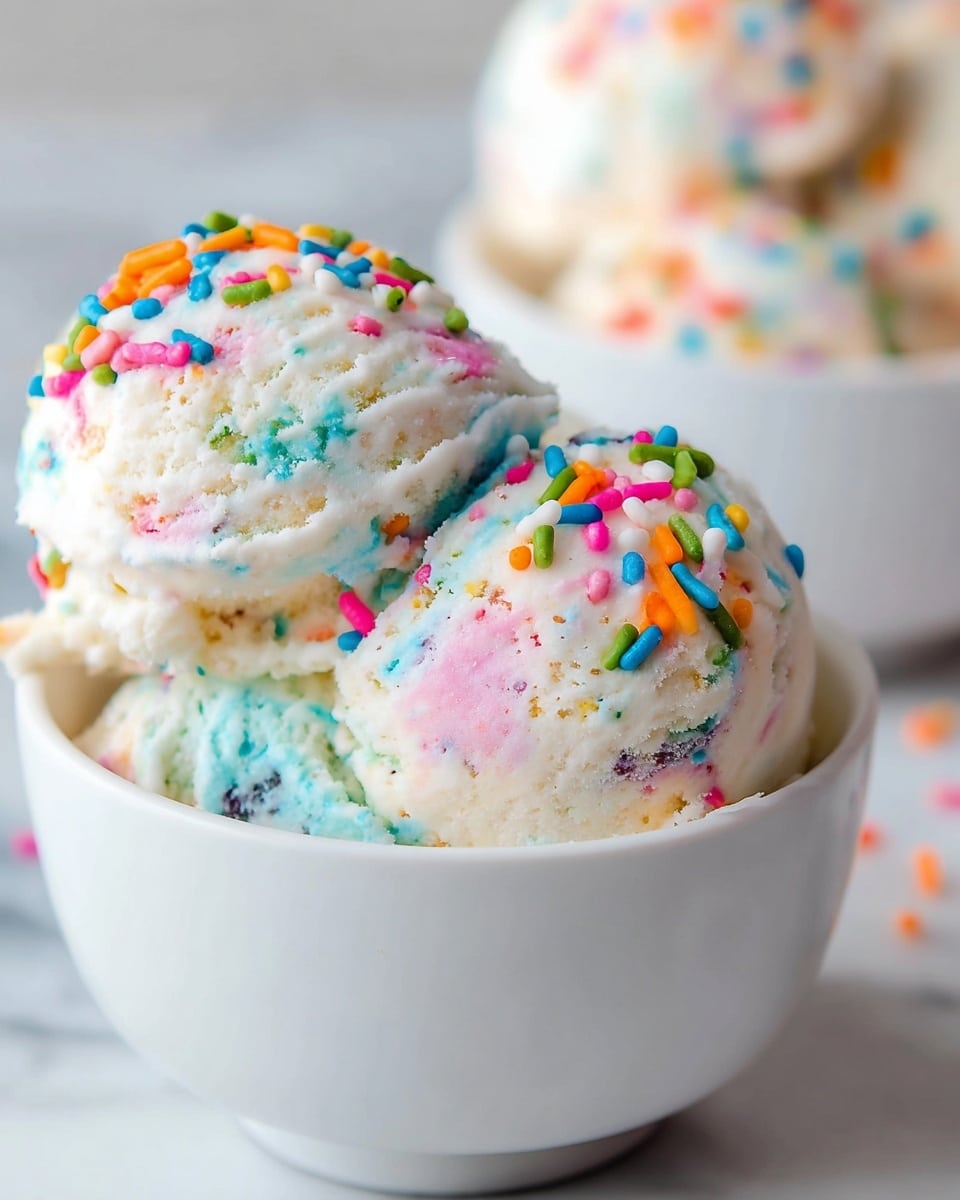
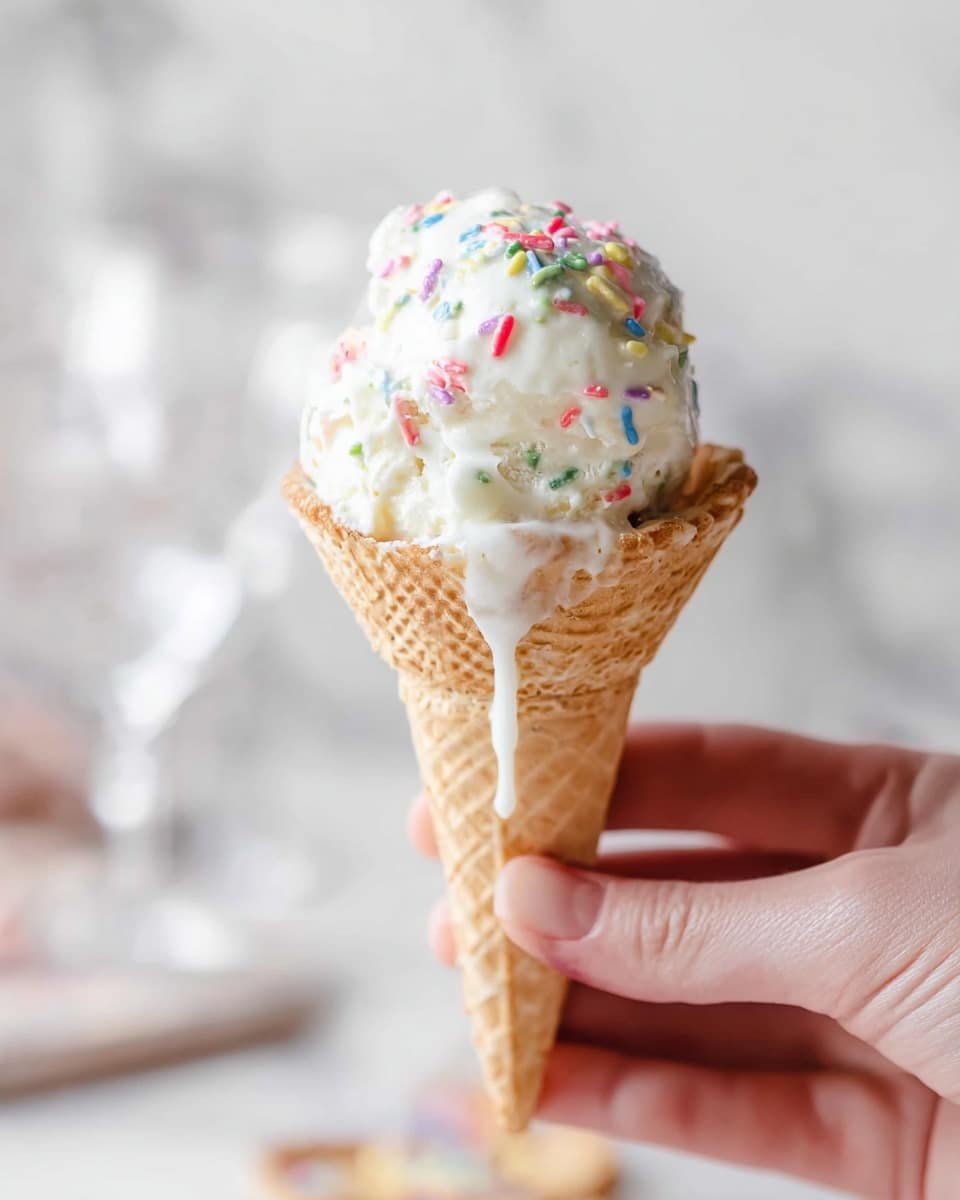
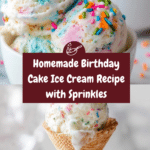
Celebrate any special occasion with this delightful Birthday Cake Ice Cream. Creamy, sweet, and packed with colorful sprinkles and chunks of vanilla cupcakes, it’s a fun treat that feels like a party in every bite.
Ingredients
- 1 ¼ cups heavy cream
- 1 cup granulated sugar
- 1 cup whole milk
- 1 teaspoon vanilla extract
- ¼ cup rainbow sprinkles
- 6 mini vanilla cupcakes (store bought)
Instructions
- Step 1: Carefully quarter the cupcakes, place them on a cookie sheet lined with parchment paper, and freeze while preparing the ice cream base.
- Step 2: Beat the heavy cream and sugar together until stiff peaks form. Then add the milk and vanilla extract, and continue beating for at least 5 more minutes until well combined.
- Step 3: Gently fold in the rainbow sprinkles and the slightly frozen cupcake pieces to keep their shape.
- Step 4: Pour the mixture into a loaf pan and freeze for at least 6 hours or overnight until firm.
- Step 5: To serve, run an ice cream scoop under hot water, scoop the ice cream, and let it sit at room temperature for 5 minutes before scooping again for a softer texture.
Tips & Variations
- For extra flavor, try adding a tablespoon of almond extract along with the vanilla.
- Use gluten-free cupcakes if you need a gluten-free version.
- For a dairy-free option, substitute heavy cream and milk with coconut cream and almond milk.
- Swirl in chocolate chips or a drizzle of chocolate syrup for a fun twist.
Storage
Store the ice cream in an airtight container in the freezer for up to 1 week. When ready to enjoy, let it sit at room temperature for a few minutes to soften before scooping. Avoid refreezing melted portions to keep the best texture.
How to Serve
Serve this delicious recipe with your favorite sides.
FAQs
Can I use regular size cupcakes instead of mini cupcakes?
Yes, simply cut regular cupcakes into smaller chunks to ensure even distribution throughout the ice cream.
Do I need an ice cream maker for this recipe?
No ice cream maker is needed. The whipped cream and freezing method create a creamy texture without churning.
Print
Birthday Cake Ice Cream Recipe
- Total Time: 6 hours 15 minutes
- Yield: 6 servings 1x
Description
This Birthday Cake Ice Cream recipe combines creamy homemade ice cream with fun sprinkles and mini vanilla cupcakes for a festive treat that’s perfect for celebrations. Easy to make without an ice cream maker, it freezes overnight to deliver rich and flavorful scoops bursting with birthday cake goodness.
Ingredients
Ice Cream Base
- 1 ¼ cups heavy cream
- 1 cup granulated sugar
- 1 cup whole milk
- 1 teaspoon vanilla extract
Mix-ins
- ¼ cup rainbow sprinkles
- 6 mini vanilla cupcakes (store bought)
Instructions
- Freeze Cupcakes: Carefully quarter the mini vanilla cupcakes, place them on a cookie sheet lined with parchment paper, and freeze while preparing the ice cream base. This helps the cupcakes stay firm when mixed into the ice cream.
- Prepare Ice Cream Base: Beat the heavy cream and granulated sugar together until stiff peaks form, ensuring the mixture is light and fluffy. Then add the whole milk and vanilla extract, and continue beating for at least 5 minutes until fully combined and creamy.
- Incorporate Mix-ins: Gently fold in the rainbow sprinkles and the slightly frozen cupcake pieces to evenly distribute them throughout the ice cream base without deflating the mixture.
- Freeze the Ice Cream: Pour the ice cream mixture into a loaf pan and freeze it for at least 6 hours or preferably overnight to allow it to solidify and develop the perfect texture.
- Scoop and Serve: Before serving, run an ice cream scoop under hot water to ease scooping. Let the ice cream sit at room temperature for 5 minutes to soften slightly for a creamier, scoopable consistency.
Notes
- For best results, use fresh ingredients and ensure cupcakes are thoroughly frozen before mixing.
- Adjust sweetness by modifying sugar quantity according to taste preference.
- Vanilla cupcakes can be substituted with any flavored mini cupcakes for variation.
- Make sure to use an airtight container for freezing if transferring the ice cream from the loaf pan to prevent freezer burn.
- Allow the ice cream to soften a bit at room temperature before scooping to avoid hardness that can make serving difficult.
- Prep Time: 15 minutes
- Cook Time: 0 minutes
- Category: Dessert
- Method: No-Cook
- Cuisine: American
Keywords: birthday cake ice cream, no churn ice cream, homemade ice cream, sprinkles ice cream, cupcake ice cream, festive dessert
