
Biscoff Cookie Crust Recipe
Introduction
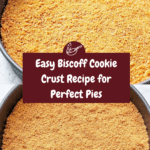
This Biscoff cookie crust is a deliciously simple base that adds rich caramelized flavor and a satisfying crunch to any dessert. Perfect for cheesecakes, pies, or tarts, it combines buttery goodness with the unique taste of Biscoff cookies.
Ingredients
- 1 package Biscoff cookies (about 8.8 oz, finely crushed)
- 4 tablespoons butter (melted)
Instructions
- Step 1: Melt the butter and set it aside to cool slightly.
- Step 2: Crush the Biscoff cookies into fine crumbs using a food processor, or place them in a zip-top bag and crush with a rolling pin.
- Step 3: Combine the cookie crumbs with the melted butter until the mixture is evenly moistened.
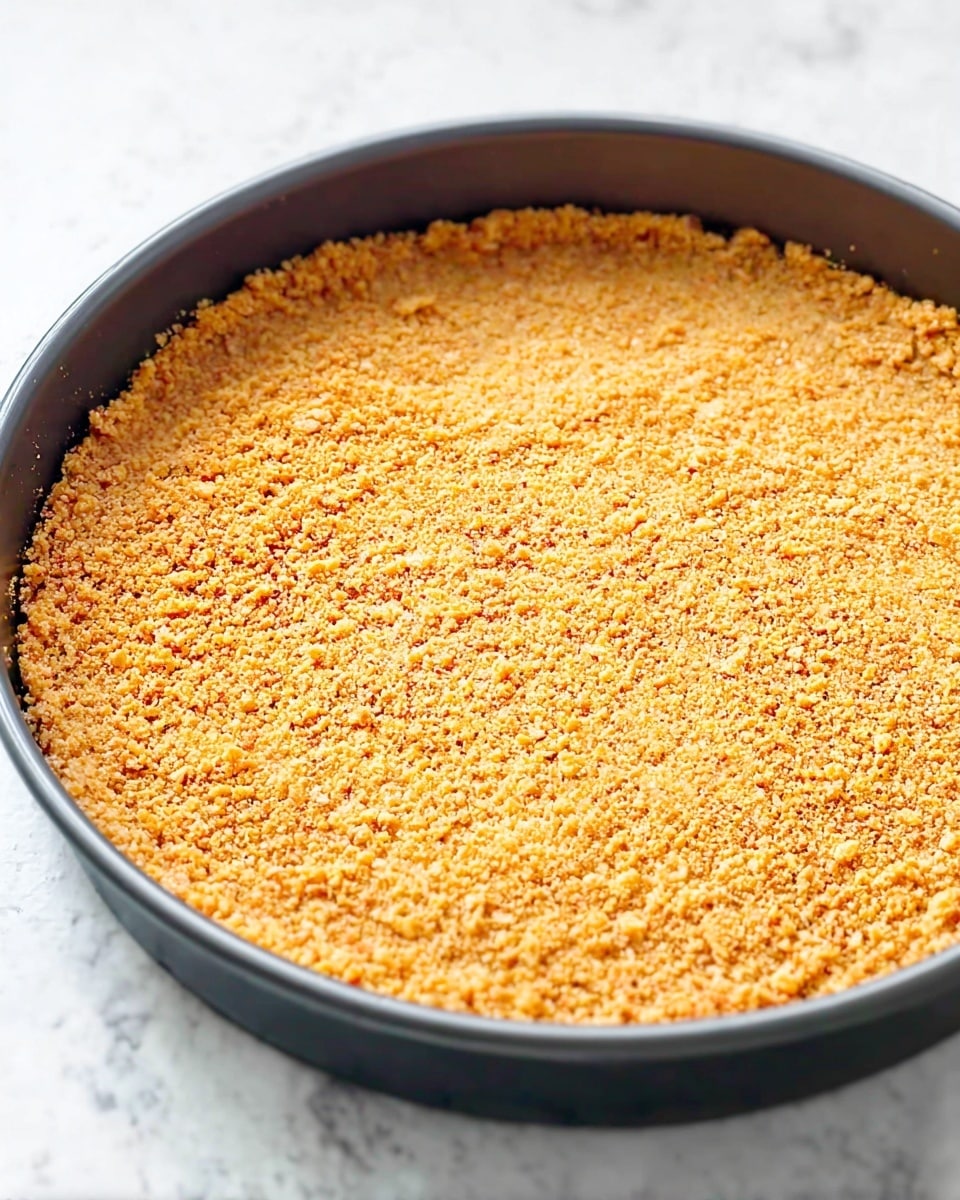
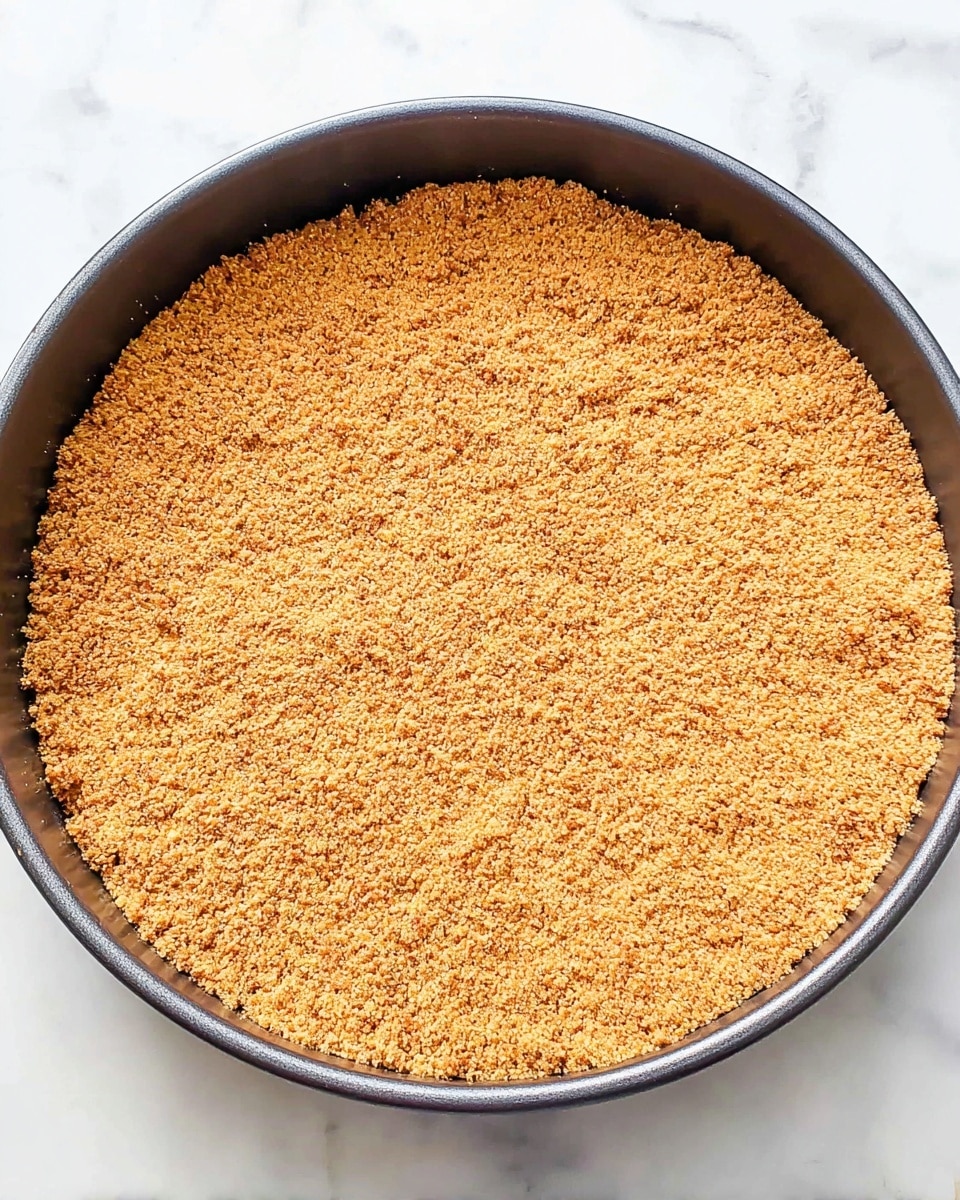
- Step 4: Press the crumb mixture firmly into the bottom and up the sides of an 8–9 inch pie pan or springform pan.
- Step 5: For a no-bake crust, chill it in the refrigerator for 10–20 minutes before filling.
- Step 6: For a firmer, baked crust, bake at 350°F for 8–10 minutes, then allow it to cool before adding the filling.
Tips & Variations
- For extra flavor, add a pinch of cinnamon or a teaspoon of vanilla extract to the crust mixture before pressing it into the pan.
- If you don’t have a food processor, crushing cookies in a sealed bag with a rolling pin works just as well.
- Use a flat-bottomed measuring cup or glass to press down the crust evenly and firmly.
Storage
Store any unused crust in an airtight container in the refrigerator for up to 3 days. If baked, chilling is recommended before storing. When ready to use, bring it to room temperature or re-chill after filling. The crust is best used fresh for optimal texture.
How to Serve
Serve this delicious recipe with your favorite sides.
FAQs
Can I use a different type of cookie for this crust?
Yes, you can substitute other spiced or crunchy cookies like gingersnaps or graham crackers, although the flavor will vary from the signature Biscoff taste.
Do I have to bake the crust before adding the filling?
No, baking is optional. Chilling the crust allows it to firm up enough for no-bake desserts, but baking will give it a sturdier texture and deeper flavor.
Print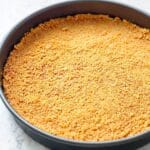
Biscoff Cookie Crust Recipe
- Total Time: 20-30 minutes
- Yield: 1 8-9 inch pie crust 1x
- Diet: Vegetarian
Description
A simple and delicious Biscoff cookie crust made with finely crushed Biscoff cookies and melted butter. This versatile crust can be chilled for a no-bake option or baked for a firmer texture, perfect for cheesecakes, pies, or tarts.
Ingredients
Crust Ingredients
- 1 package Biscoff cookies (about 8.8 oz), finely crushed
- 4 tablespoons butter, melted
Instructions
- Melt Butter: Melt the butter and set it aside to cool slightly to avoid melting the cookies when mixed.
- Crush Cookies: Crush the Biscoff cookies into fine crumbs using a food processor, or place them in a zip-top bag and crush with a rolling pin.
- Combine Crumbs and Butter: Mix the crushed cookie crumbs with the melted butter until the mixture is evenly moistened and holds together.
- Press Crust: Firmly press the cookie mixture into the bottom and around the sides of an 8–9 inch pie pan or springform pan, ensuring an even layer.
- Chill for No-Bake: For a no-bake crust, chill the crust in the refrigerator for 10–20 minutes before adding the filling.
- Bake for Firmer Crust: For a firmer crust, bake at 350°F (175°C) for 8–10 minutes, then allow it to cool completely before filling.
Notes
- Use a springform pan for easy removal when making cheesecakes or delicate pies.
- If you prefer a less buttery crust, reduce the butter slightly but note the crust may be less cohesive.
- This crust works well with fillings like cheesecake, cream pies, or mousse.
- Ensure the crust is fully cooled before adding fillings if baked to prevent sogginess.
- Storing the crust in the fridge after assembly helps it set well before serving.
- Prep Time: 10 minutes
- Cook Time: 8-10 minutes (optional baking)
- Category: Dessert
- Method: Baking
- Cuisine: American
Keywords: Biscoff cookie crust, no-bake crust, pie crust, cheesecake crust, cookie crumb crust
