
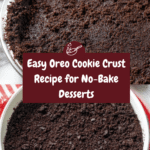
Easy Oreo Cookie Crust Recipe
Introduction
This easy Oreo cookie crust is the perfect base for pies and cheesecakes, combining rich chocolatey crumbs with buttery goodness. It’s simple to make and requires no special prep—just crush, mix, and press!
Ingredients
- 24 Oreos (about 2 cups or 268g Oreo crumbs)
- 4 tbsp (56g) butter, melted (salted or unsalted)
Instructions
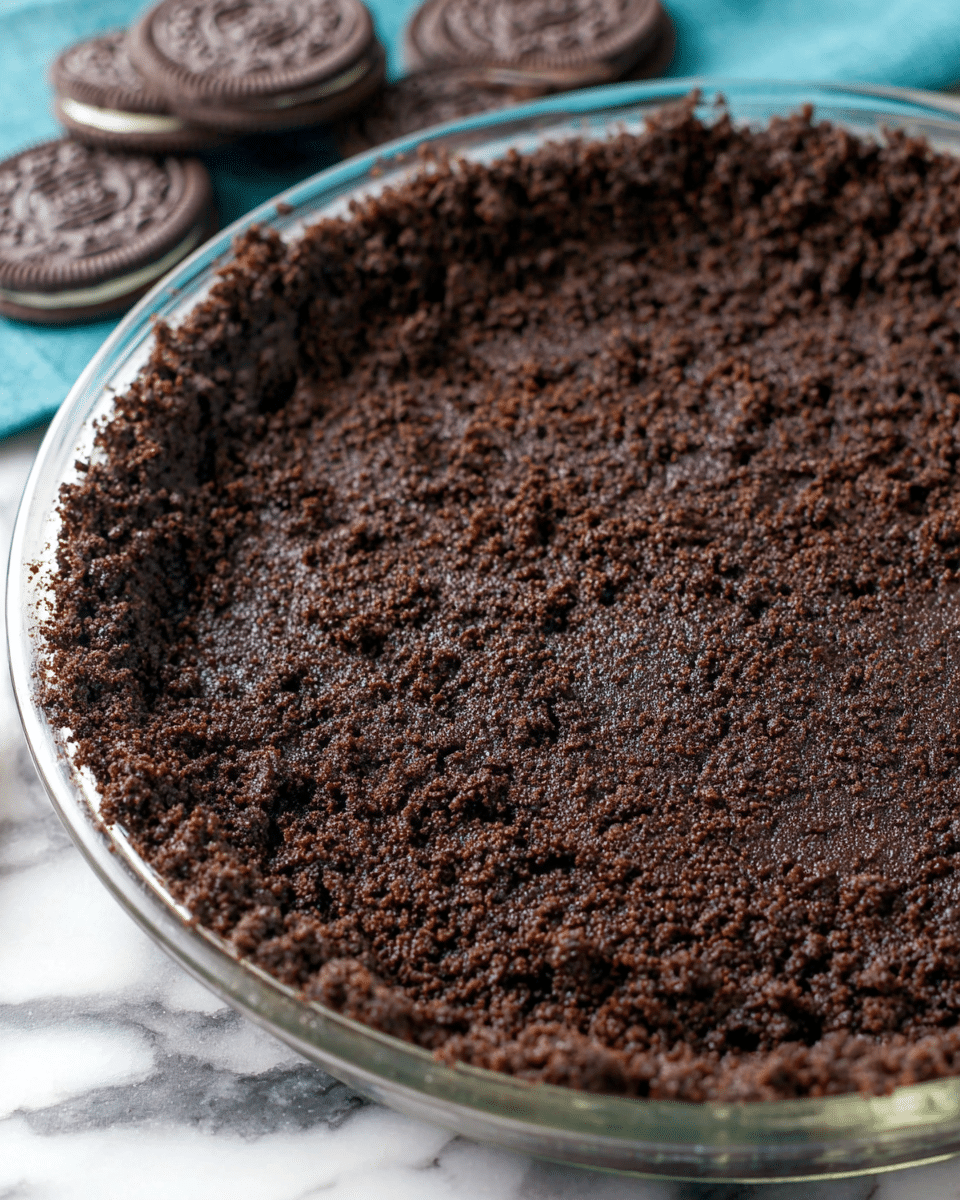
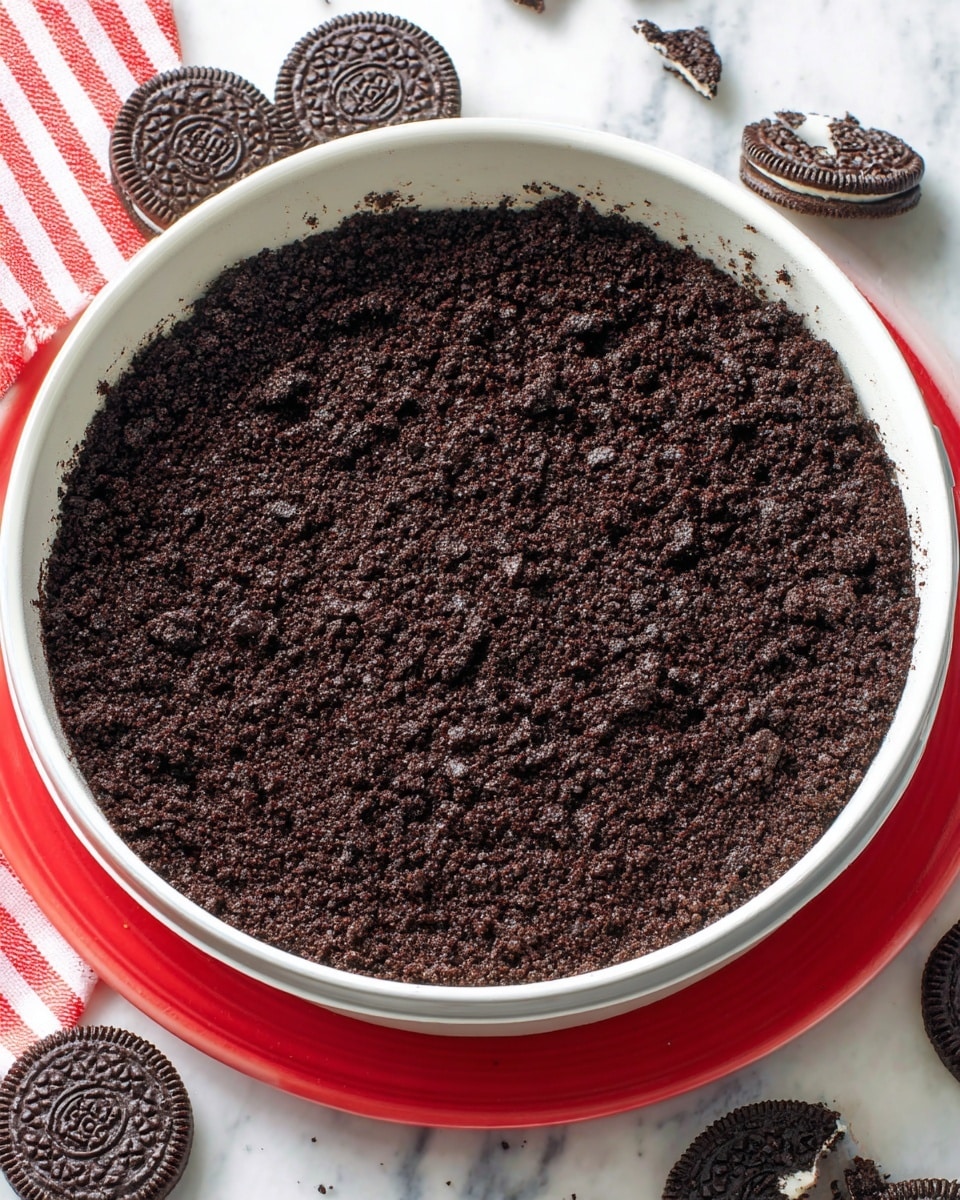
- Step 1: Add the Oreos to a food processor or blender and grind into fine crumbs. You do not need to remove the filling from the Oreos.
- Step 2: Transfer the Oreo crumbs to a bowl and mix them thoroughly with the melted butter until combined.
- Step 3: Pour the mixture into your pie pan or springform pan (grease it lightly to prevent sticking). Press the crumbs evenly on the bottom and up the sides of the pan.
- Step 4: For a no-bake crust, refrigerate the crust for 30 minutes before adding your filling. If baking, place it in a preheated oven at 350°F (175°C) and bake for 8–10 minutes.
Tips & Variations
- For a thicker crust, double the ingredient amounts to 35 Oreos and 5 tablespoons of melted butter.
- Use salted butter to add a subtle savory balance to the sweetness.
- Press the crust firmly to ensure it holds together well after chilling or baking.
- Try adding a teaspoon of cinnamon for a slight spice twist in your crust.
Storage
Store any unused crust in an airtight container in the refrigerator for up to 3 days. If baked, it can also be frozen for up to 1 month. Reheat a baked crust by warming it in the oven for a few minutes to refresh its texture.
How to Serve
Serve this delicious recipe with your favorite sides.
FAQs
Do I have to remove the cream filling from the Oreos?
No, you can grind the Oreos whole including the cream filling. It adds extra moisture and sweetness to the crust.
Can I make this crust vegan?
Yes, replace the butter with a plant-based margarine or coconut oil to make the crust vegan-friendly.
Print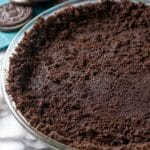
Easy Oreo Cookie Crust Recipe
- Total Time: 18-20 minutes (baked) or 40 minutes (including chilling for no-bake)
- Yield: One 9-inch pie crust 1x
Description
This Easy Oreo Cookie Crust recipe provides a simple and delicious base for pies or cheesecakes. Made by grinding Oreos into fine crumbs and combining them with melted butter, this crust can be baked or refrigerated to suit your dessert needs. Perfect for no-bake or baked desserts, it’s quick to make and requires minimal ingredients while delivering a rich, chocolatey flavor.
Ingredients
For 9-inch pie crust (approximate)
- 24 Oreos (2 cups | 268g Oreo crumbs)
- 4 tbsp (56g) butter, melted (salted or unsalted)
For larger crust
- 35 Oreos (3 cups | 403g Oreo crumbs)
- 5 tbsp (70g) butter, melted (salted or unsalted)
Instructions
- Grind the Oreos: Add the Oreos to a food processor or blender and grind them into fine crumbs. There is no need to remove the filling from the Oreos as it adds flavor and helps bind the crust.
- Combine crumbs and butter: Transfer the Oreo crumbs to a bowl and mix thoroughly with the melted butter until the mixture is evenly combined and resembles wet sand.
- Press into pan: Pour the mixture into your pie pan or springform pan. It’s recommended to grease the pan beforehand to prevent sticking. Press the crust mixture firmly into an even layer on the bottom and up the sides of the pan.
- Set the crust: For a no-bake option, refrigerate the crust for at least 30 minutes before adding your filling to allow it to set. For a baked crust, preheat your oven to 350°F (175°C) and bake the crust for 8-10 minutes until it’s firm and slightly crisp. Let it cool before adding the filling.
Notes
- You do not need to remove the Oreo filling before grinding.
- Greasing the pan helps prevent the crust from sticking.
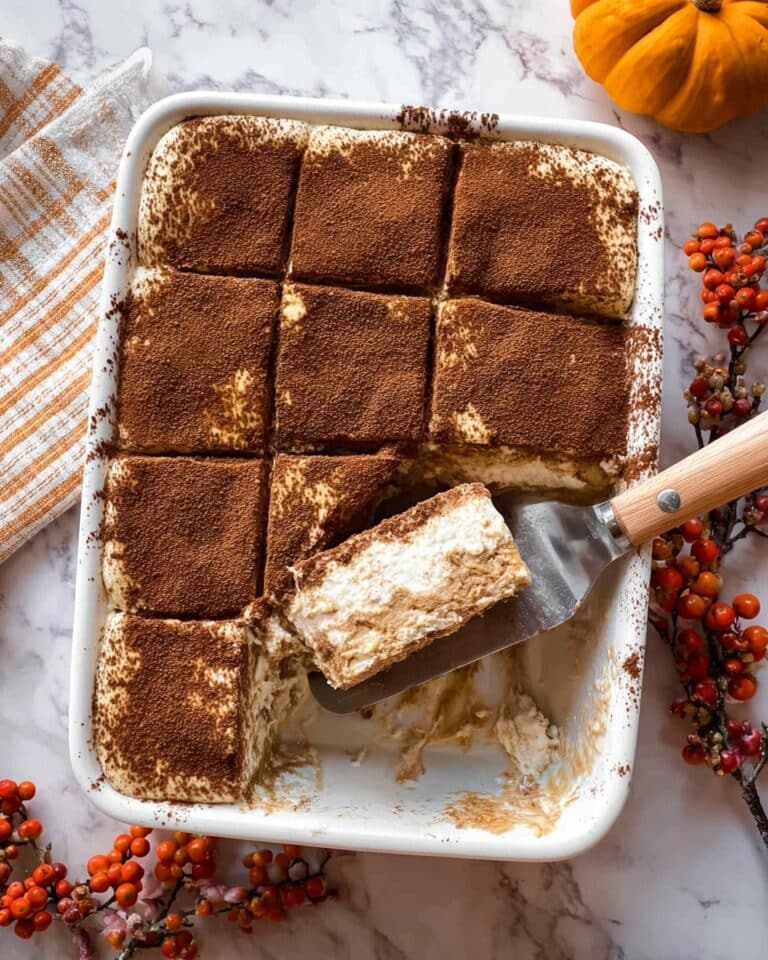
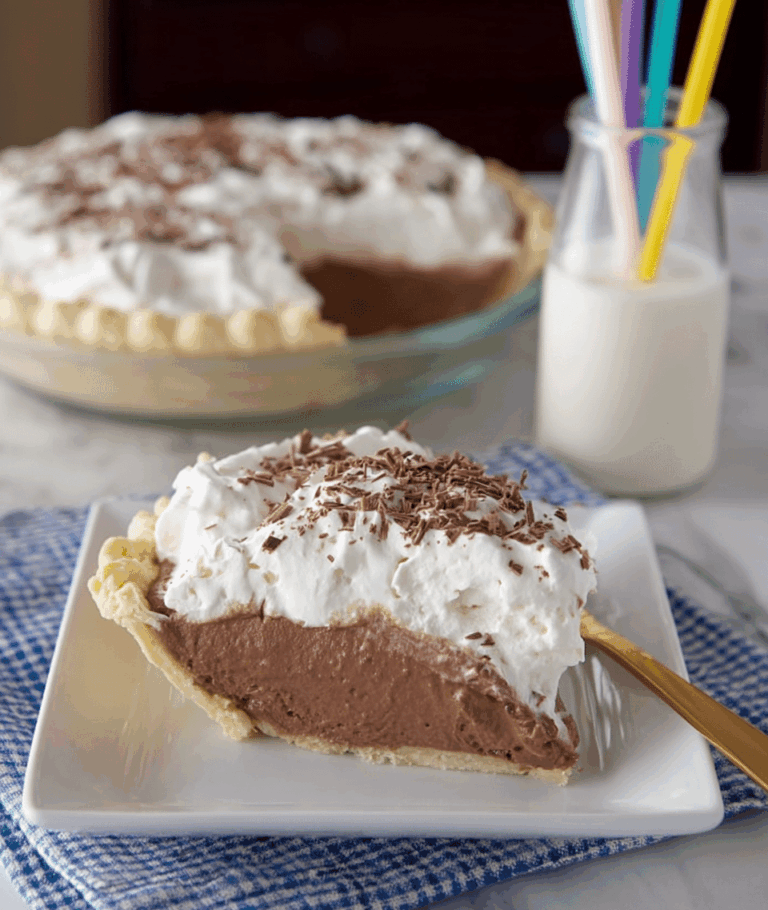
- This crust pairs well with cheesecakes, cream pies, or any no-bake dessert.
- Adjust the amount of butter slightly to achieve the desired crust texture.
- If baking, watch the crust carefully to avoid burning since Oreos contain sugar.
- Prep Time: 10 minutes
- Cook Time: 8-10 minutes (if baking)
- Category: Dessert
- Method: Baking
- Cuisine: American
Keywords: Oreo cookie crust, no bake crust, easy pie crust, cheesecake crust, chocolate cookie crust, simple dessert crust

