
Peanut Butter Cups Recipe
Introduction
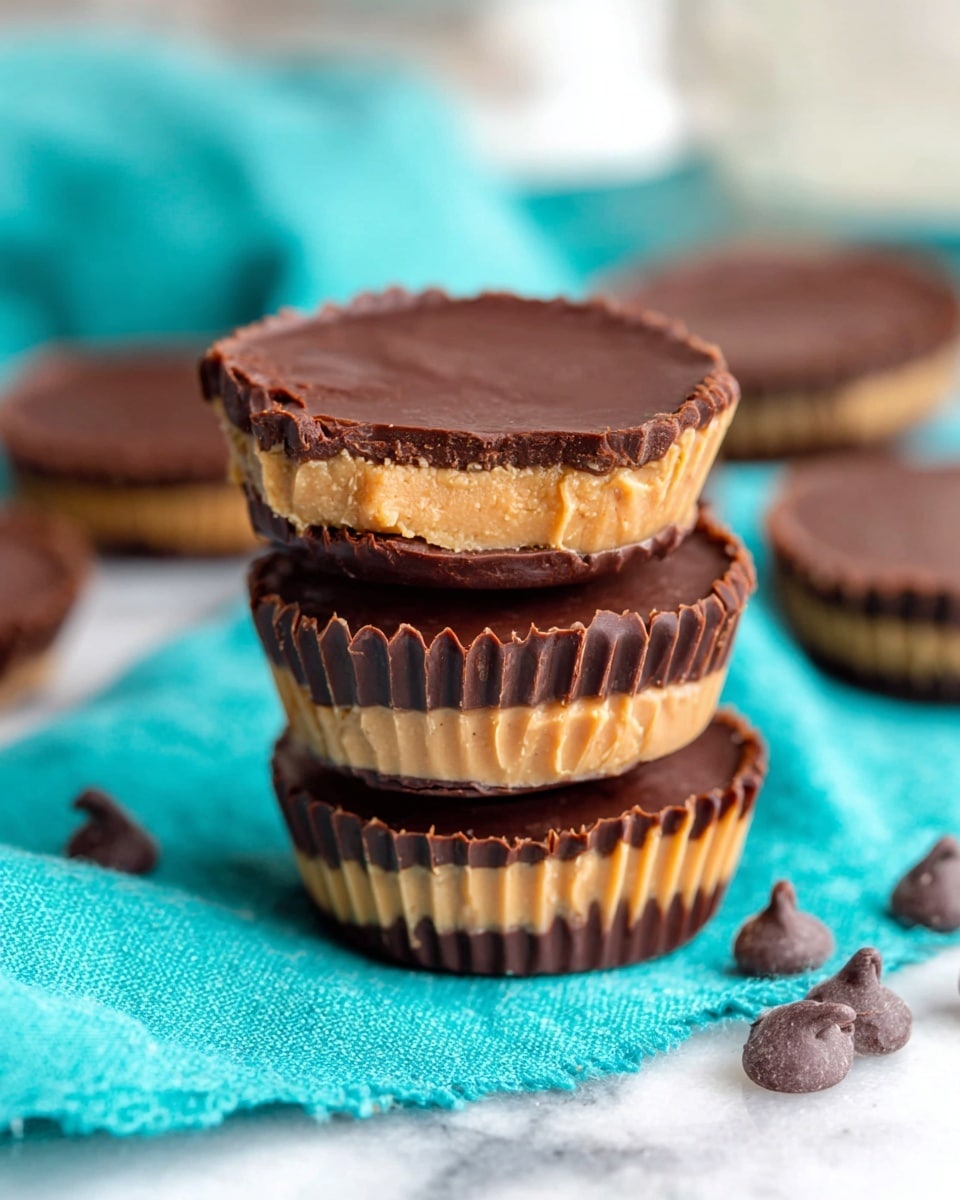
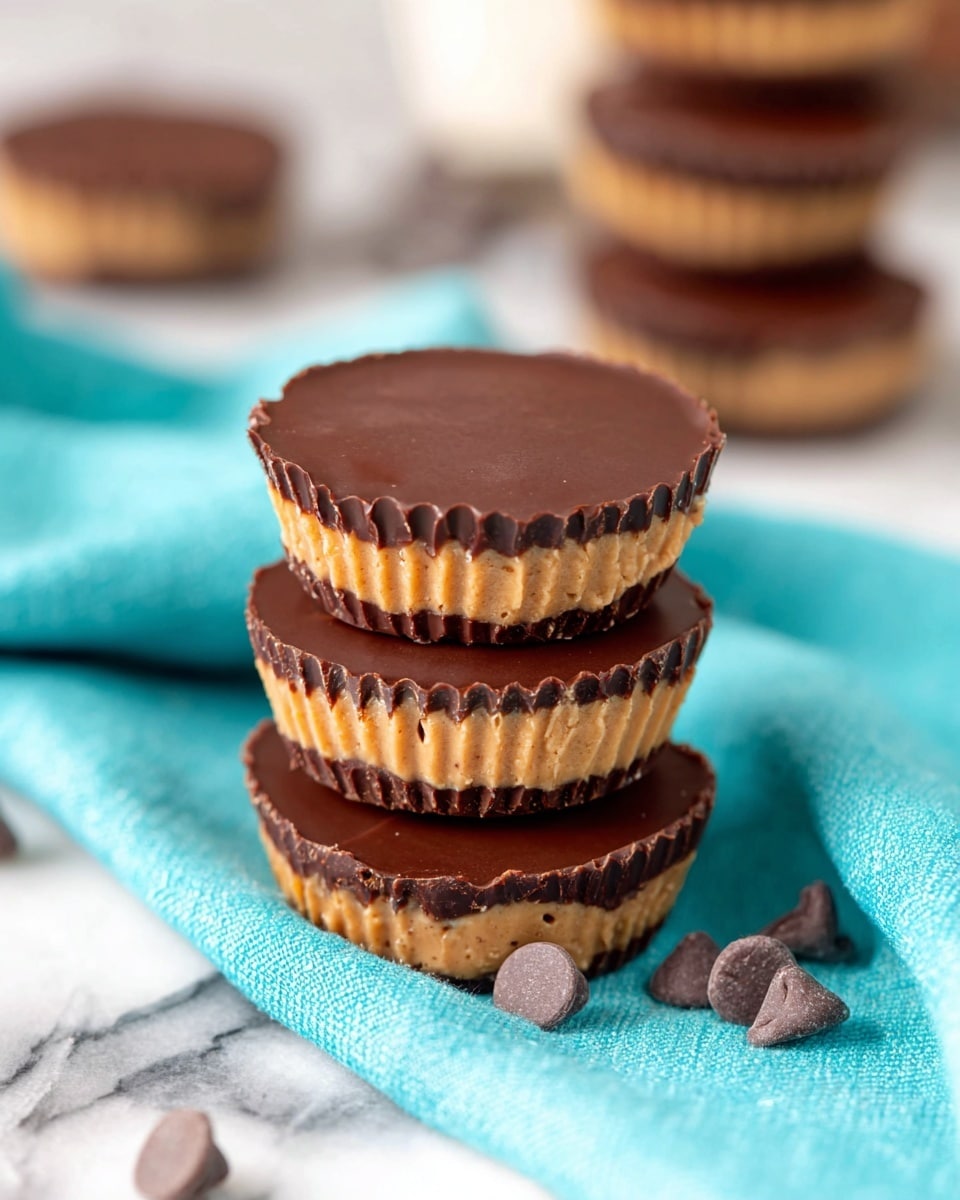
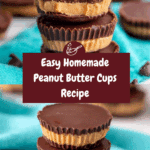
These homemade peanut butter cups are a delightful treat that combines rich chocolate with creamy peanut butter. Easy to make and perfect for satisfying your sweet tooth, they bring a classic candy shop favorite right into your kitchen.
Ingredients
- 1 cup creamy peanut butter
- ⅓ cup powdered sugar
- 1 teaspoon vanilla extract
- 2 ½ cups chocolate melting wafers
Instructions
- Step 1: Line a cupcake pan with cupcake liners and set aside.
- Step 2: In a medium bowl, mix together the peanut butter, powdered sugar, and vanilla extract until smooth.
- Step 3: Transfer the peanut butter mixture to a pastry bag or a resealable plastic bag with a small section of the corner cut off for piping.
- Step 4: Melt the chocolate melting wafers in a microwave-safe bowl by heating in 30-second intervals, stirring between each, until fully melted and smooth.
- Step 5: Spoon 2 teaspoons of melted chocolate into the bottom of each cupcake liner.
- Step 6: Pipe or spoon the peanut butter mixture on top of the chocolate layer in each liner.
- Step 7: Add 1 tablespoon of melted chocolate to cover the peanut butter layer in each cup.
- Step 8: Place the pan in the refrigerator for about 1 hour, or until the cups have fully set.
- Step 9: Remove from the refrigerator and enjoy your homemade peanut butter cups.
Tips & Variations
- For a crunchy texture, mix chopped peanuts into the peanut butter filling before piping.
- Use dark, milk, or white chocolate wafers to customize the flavor.
- If you don’t have a pastry bag, a spoon works perfectly for layering the peanut butter.
- To avoid chocolate seizing, make sure no water contacts the melting wafers during melting.
Storage
Store peanut butter cups in an airtight container in the refrigerator for up to 1 week. For longer storage, freeze them for up to 1 month and thaw in the fridge before serving. Let them sit at room temperature for a few minutes to soften before eating.
How to Serve
Serve this delicious recipe with your favorite sides.
FAQs
Can I use natural peanut butter instead of creamy?
Yes, but natural peanut butter tends to be less sweet and more oily, which may affect the texture. You might want to adjust the powdered sugar slightly for balance.
What can I substitute for chocolate melting wafers?
You can use good-quality chocolate bars broken into small pieces. Melt them carefully in the microwave or using a double boiler to avoid burning.
Print
Peanut Butter Cups Recipe
- Total Time: 1 hour 15 minutes
- Yield: 12 peanut butter cups 1x
- Diet: Vegetarian
Description
Delicious homemade peanut butter cups featuring a creamy peanut butter center encased in smooth, melted chocolate. This easy no-bake treat is perfect for satisfying sweet cravings and making at home with simple ingredients.
Ingredients
Peanut Butter Mixture
- 1 cup creamy peanut butter
- ⅓ cup powdered sugar
- 1 teaspoon vanilla extract
Chocolate Coating
- 2 ½ cups chocolate melting wafers
Instructions
- Prepare Cupcake Liners: Line a cupcake pan with cupcake liners and set aside to keep the peanut butter cups shaped and easy to remove once set.
- Make Peanut Butter Mixture: In a medium bowl, combine creamy peanut butter, powdered sugar, and vanilla extract, mixing thoroughly until the mixture is smooth and well blended.
- Transfer Mixture: Place the peanut butter mixture into a pastry bag or a ziplock bag with a small corner cut off, to allow for easy piping later.
- Melt Chocolate: In a medium microwave-safe bowl, melt the chocolate melting wafers by heating in 30-second intervals, stirring between each interval, until fully melted and smooth.
- Create Chocolate Base: Spoon about 2 teaspoons of melted chocolate into the bottom of each cupcake liner to create a chocolate base layer.
- Pipe Peanut Butter Center: Pipe the peanut butter mixture on top of the chocolate base in each liner, forming an even layer.
- Add Chocolate Top Layer: Spoon or drizzle about 1 tablespoon of the melted chocolate over the peanut butter layer, fully covering it to seal the cup.
- Chill to Set: Place the filled cupcake pan in the refrigerator for approximately 1 hour or until the chocolate hardens and the peanut butter sets firm.
- Serve and Enjoy: Remove the peanut butter cups from the refrigerator, peel off the liners, and enjoy this delicious treat.
Notes
- Use creamy peanut butter for smooth texture; crunchy peanut butter may give a different mouthfeel.
- Chocolate melting wafers melt smoothly and are ideal for dipping and molding treats.
- Ensure the chocolate is fully melted before layering to avoid clumps.
- Store peanut butter cups in the refrigerator for up to one week for best freshness.
- For a firmer shell, you may chill the cups for longer or place them briefly in the freezer.
- Prep Time: 10 minutes
- Cook Time: 5 minutes
- Category: Dessert
- Method: No-Cook
- Cuisine: American
Keywords: peanut butter cups, homemade candy, no-bake dessert, chocolate peanut butter treats, easy peanut butter cups